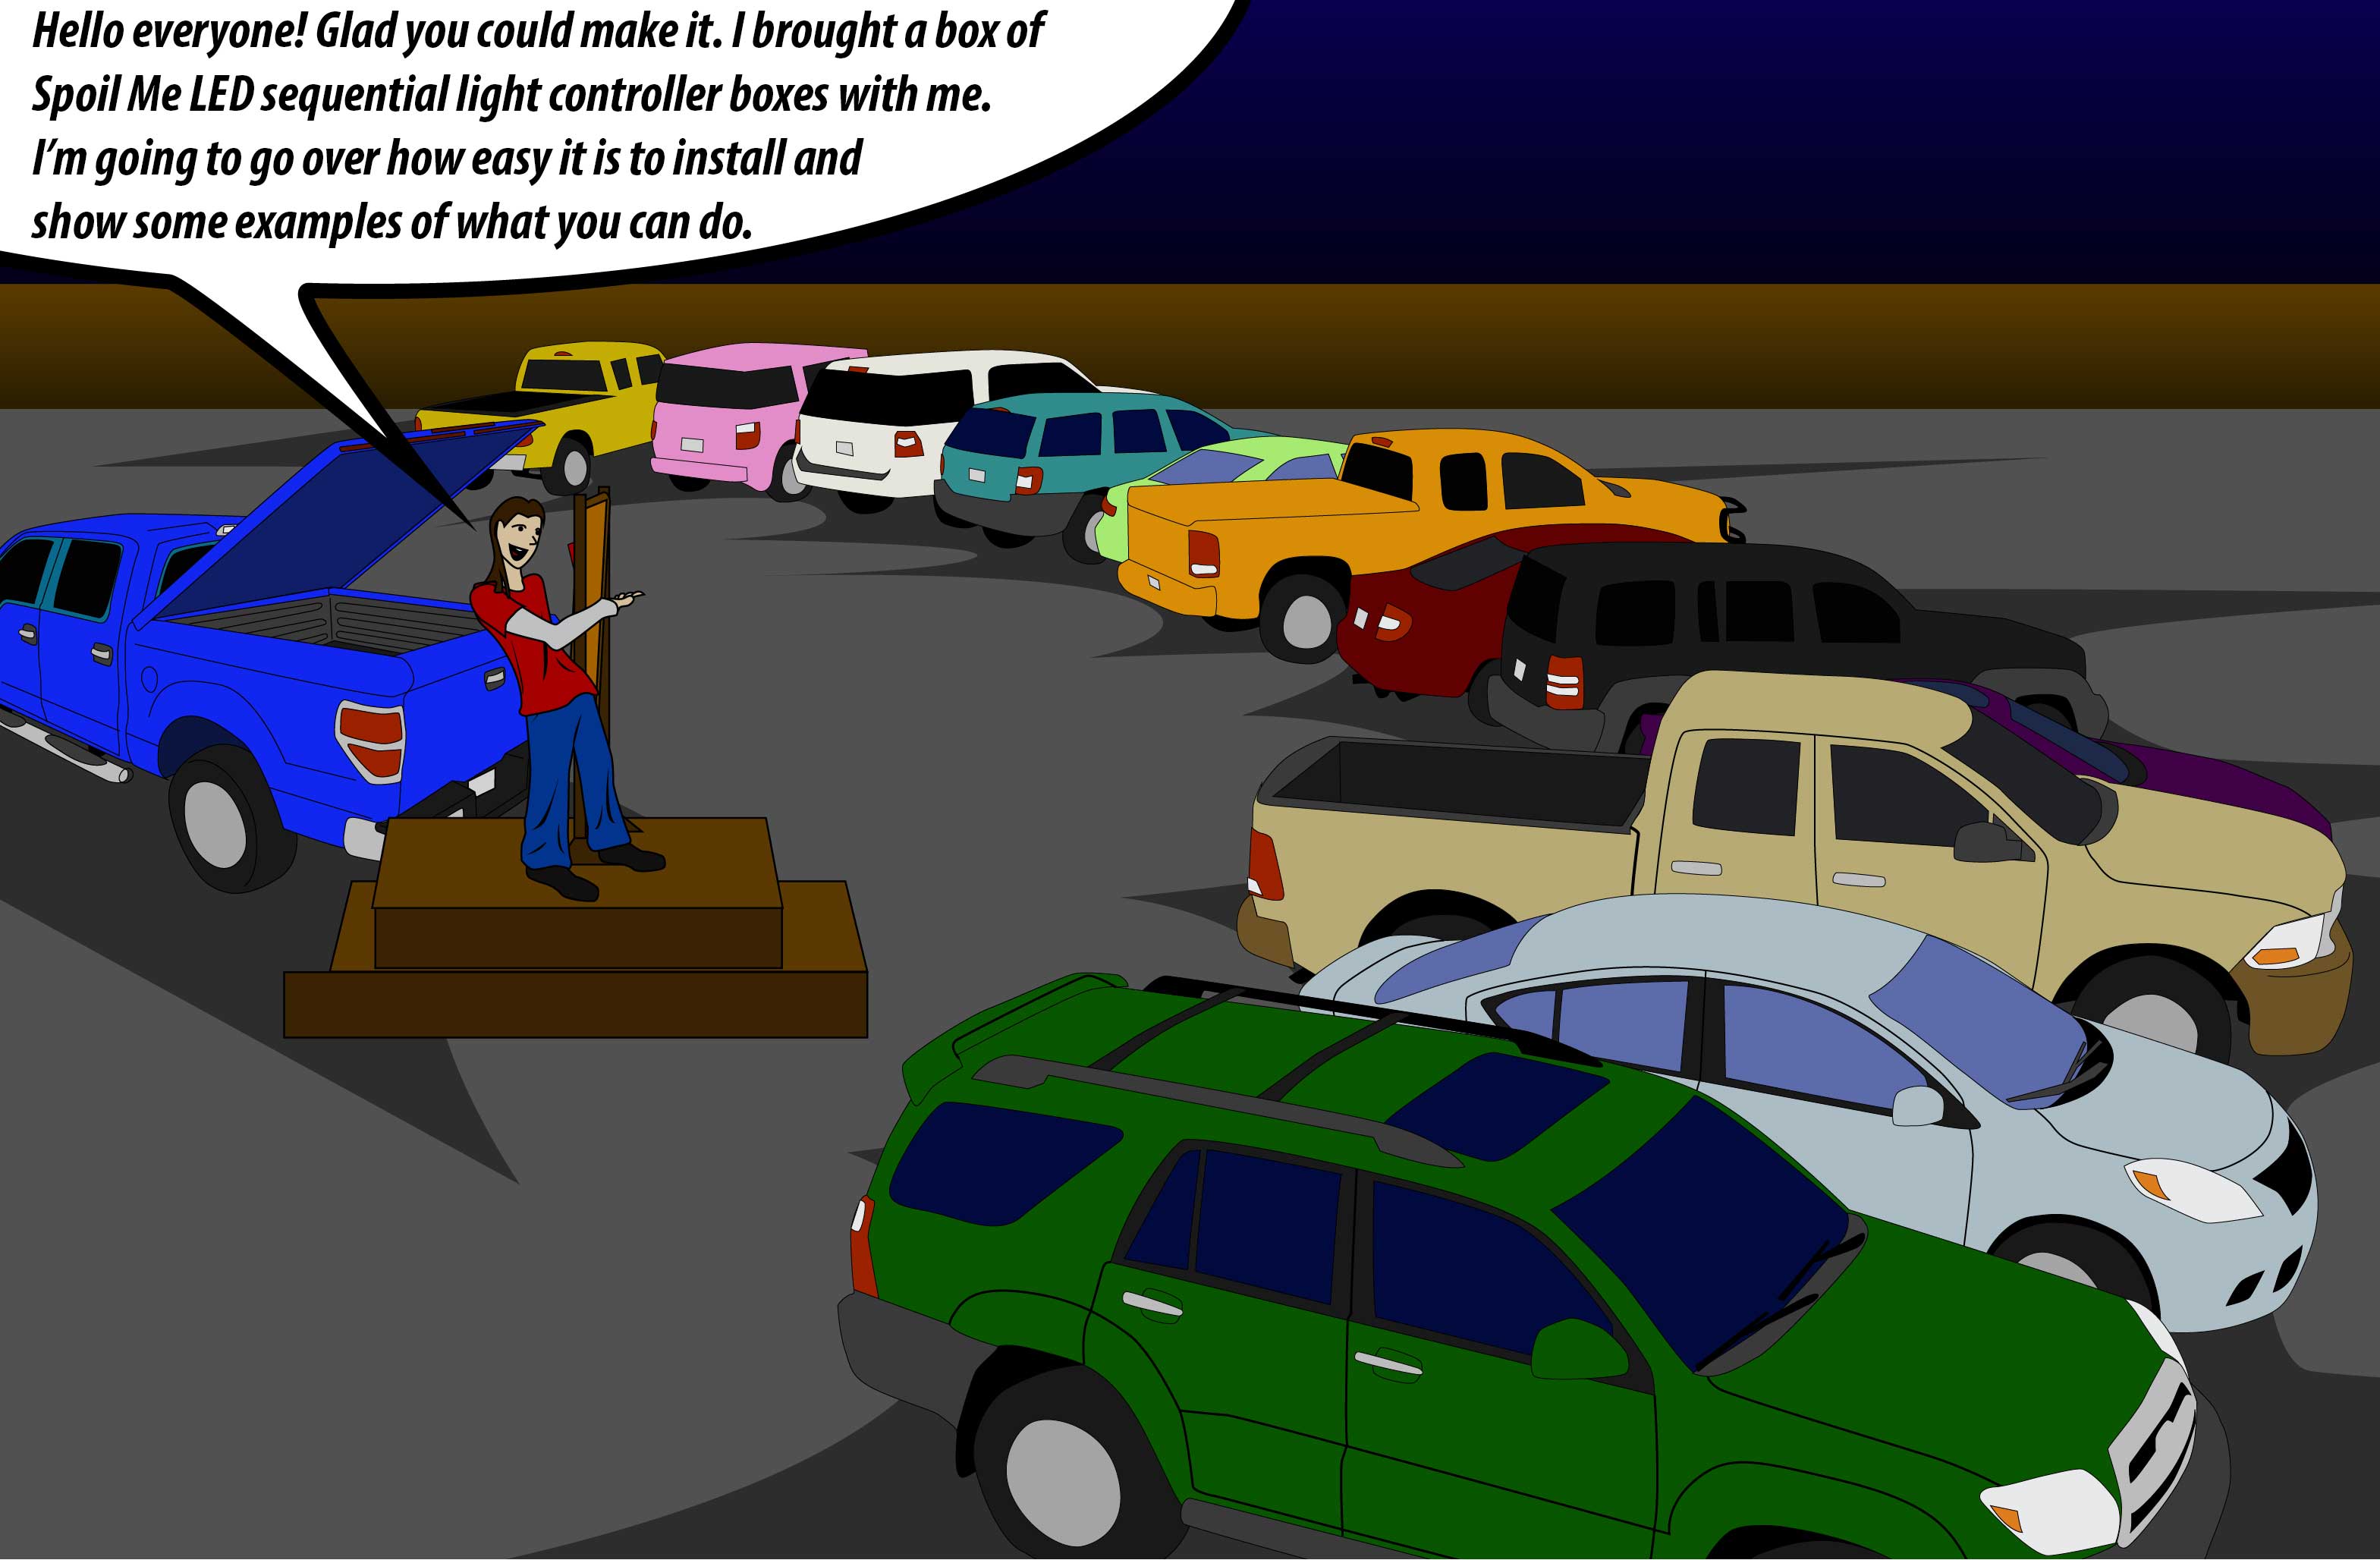
Hello everyone! Glad you could make it. I brought a box of Spoil Me LED sequential light controller boxes with me. I’m going to go over how easy it is to install and show some examples of what you can do.

To get started you need to determine if your vehicle has a harness plug typical with vehicles that have a hitch. Once determined if you have a plug, you either plug the Vehicle Harness Connector in or use it to split the vehicle’s wire harness. From there the directions are the same; the Vehicle Harness Connector goes into the Sequential Light Controller, the Ribbon Cable plugs into the Sequential Light Controller as well and connects to the LED Connector Board. So to recap: Vehicle Harness Controller > Sequential Light Controller > HDMI Cable > LED Connector Board.
Rear window installation.

Strip Installation Instructions
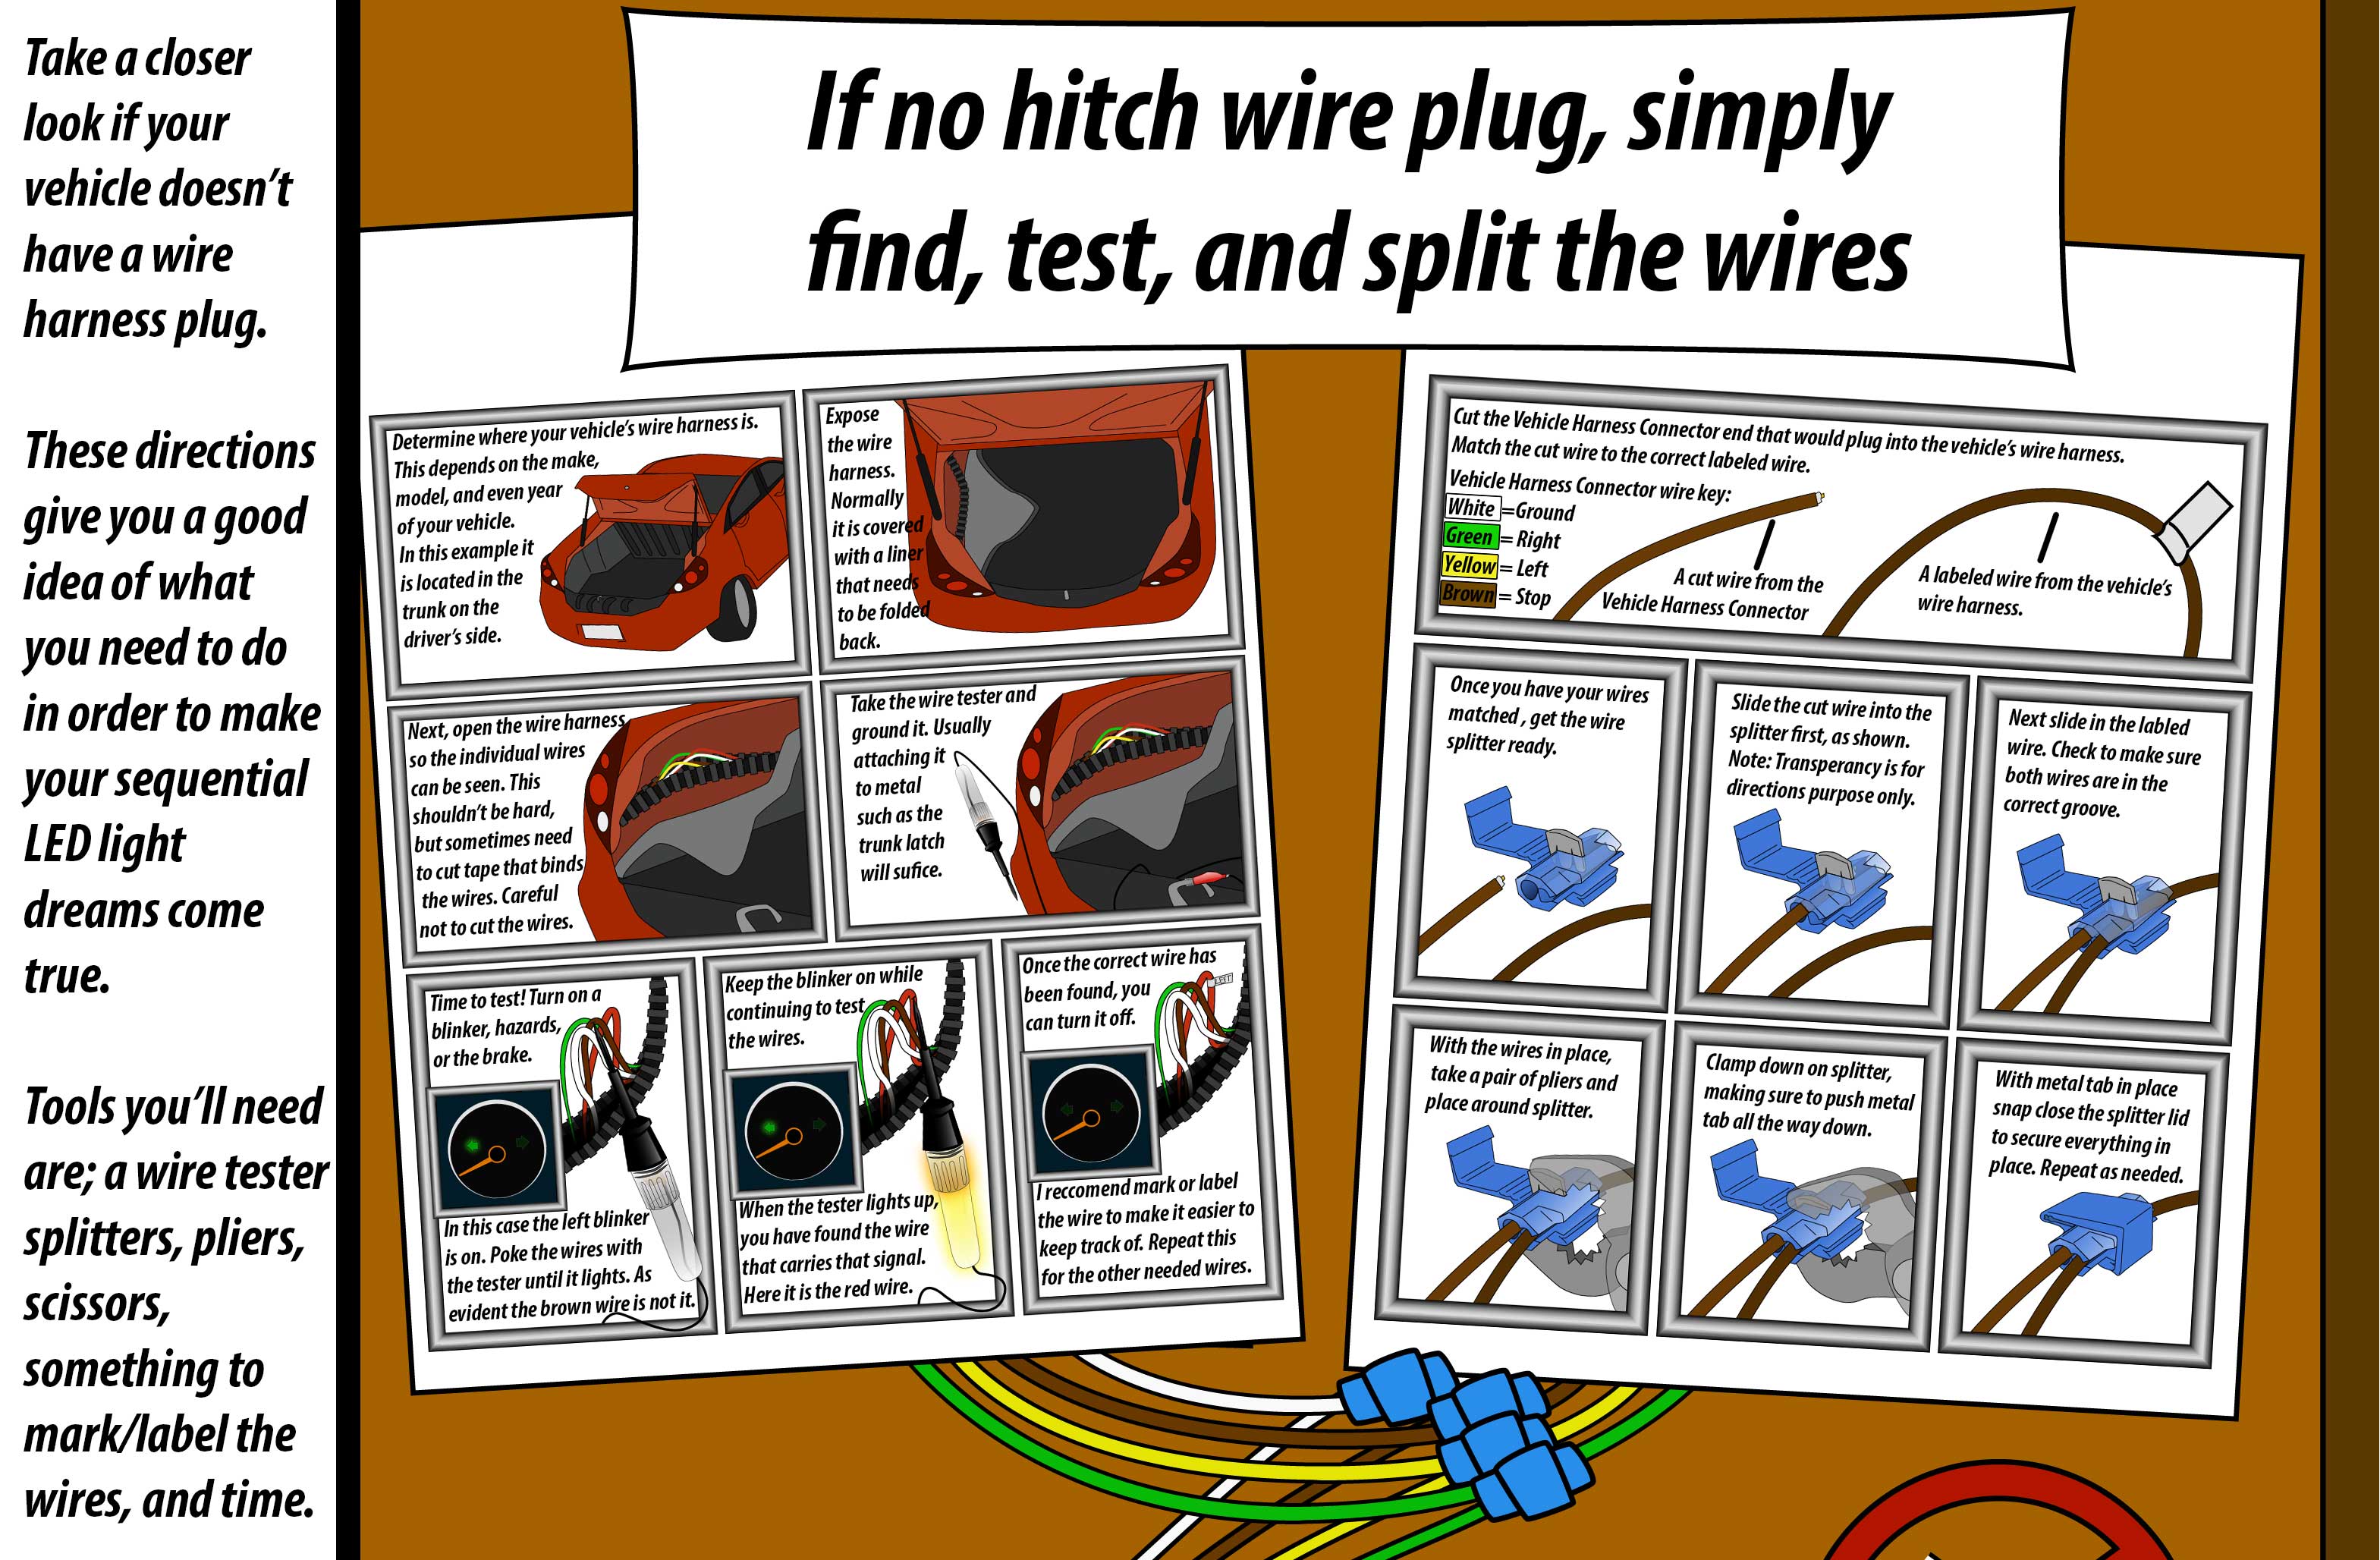
First Look in the Rear of your Vehicle and See if you have a (TRAILER PLUG) ? if YES Then just plug the (SPME) plug into it. If you don’t have a PLUG then go to the back of your Vehicle and open the (TRUNK,HATCH.etc) and Look for (HARNESS) It’s on the LEFT in most Vehicle’s,Then you remove the carpet or plastic cover, you will find bunch of wire’s taped together that’s your (HARNESS)
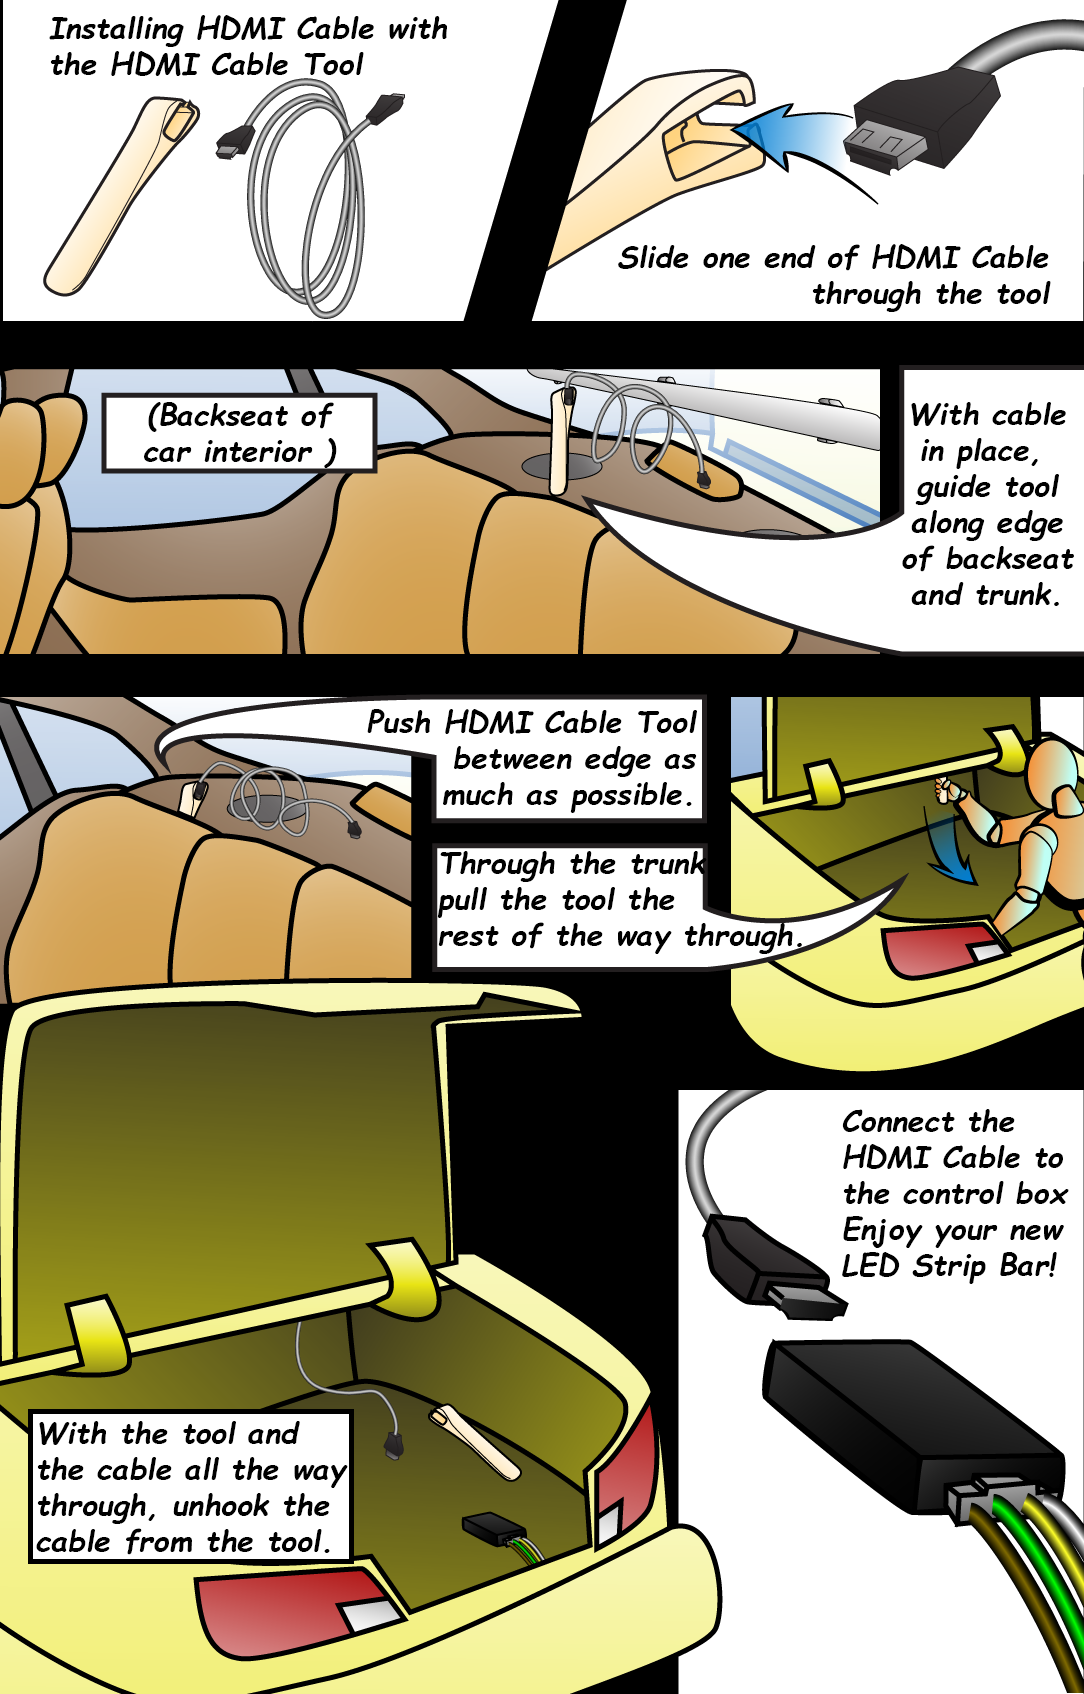
Now take your 12 Volt. light tester. (MAKE SURE YOUR TESTER HAS A GOOD GROUND) and put your LEFT turn signal ON and Start to stick the Tester in the Wires One by ONE ..When the tester Light’s Up That’s the wire you slide in to the (QUICK SPLICES) Clip Then go to the next wire and so on.When all wire’s are connected.Then plug to (SPME) “controller” and plug the HDMI cable to the light strip..(Then Test the connection) When Installing the SPME strip to your Vehicle’s inside Back window. Put the HDMI cable in to you HDMI tool . with cable in place,guide tool along Top edge of backseat and trunk push the HDMI cable Tool between edge as much as possible through on to the trunk. Then go to your trunk and pull the tool the rest of the way through. Connect the HDMI cable to the Control Box.
(TEST THE STRIP AND CONTROLLER)
Then take the Two SideTape and applied to the light strip For the back Window cut 1″ x 3 strips for Left. Center Right then find a SURE SPOT you want to Install. Then stick it to your Vehicle.. (Tape be hard to Remove Once is Applied)
LED Connector Board Socket Numbering
It’s as easy as plugging the (cut to size) wire into a number socket from 01 to 36.
Socket Numbering
01 to 18 = Left Side Turn Signal
19 to 36 = Right Side Turn Signal
10 to 27 = Also Tail and Brake
Once you have connected your LEDs, all you need to do is clip the device to any 12 volt signal harness. (If no TR plug, clip to any 12 volt signal harness)